Taking the perfect shot often requires precise timing and setup. Whether you’re capturing a beautiful sunset, a candid moment, or a family group photo, knowing how to activate the timer on your iPhone camera can make all the difference. In this guide, we will walk you through the steps to set the camera timer on an iPhone. This feature is invaluable for anyone looking to improve their photography with minimal effort.
Why Use the iPhone Camera Timer?
Before diving into the steps, it’s important to understand why the camera timer is a useful tool. The iPhone photo timer allows you to take steady photos without the need for an additional photographer. This is especially helpful for group photos or selfies, as it reduces the chance of a blurry image. Additionally, using the timer offers more creative freedom, allowing you to experiment with angles and lighting while you prepare for the shot.
Steps to Activate the Timer on iPhone Camera
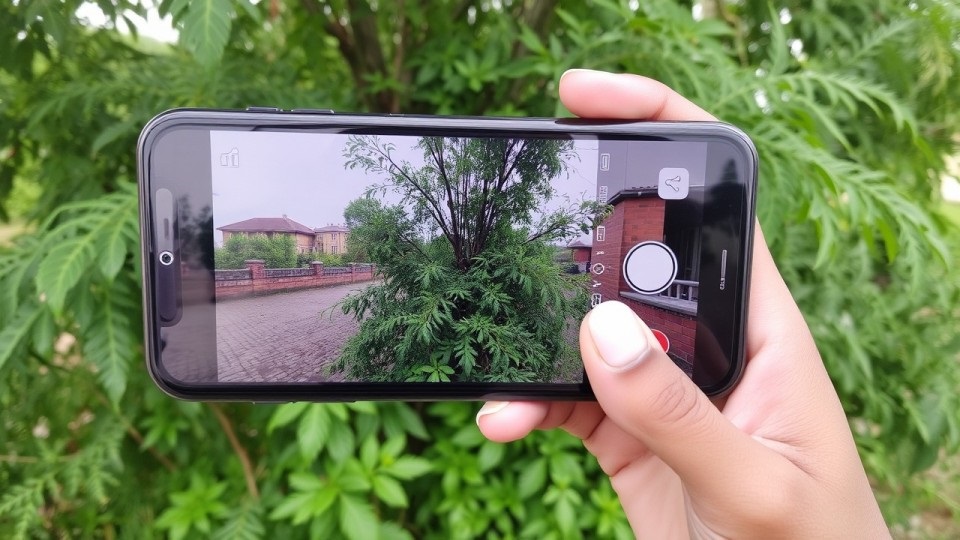
The process of setting the timer on iPhone camera is straightforward, but it varies slightly depending on your iPhone’s iOS version. Below is a general guide applicable to most recent iOS versions:
Open the Camera App
First, unlock your iPhone and tap on the camera icon to open the camera app. You can also access the camera from the lock screen by swiping left.
Select Photo Mode
Ensure that your camera is in Photo mode, as the timer feature may not be available in certain other modes like Video or Time-Lapse. You can check the mode by looking at the options above the shutter button.
Access the Timer Settings
To set the camera timer on iPhone, look for the timer icon. On most iPhones, this icon resembles a clock and is located at the top of the screen. If you don’t see it immediately, tap the upward arrow or swipe upwards on the viewfinder to reveal additional settings.
Also Read: How to Easily Find Your iPhone from an Android Device
Choose the Timer Duration
Tap the timer icon to see your choices. Typically, you have three options: off, 3 seconds, and 10 seconds. The 3-second timer is useful for quick setups, while the 10-second timer provides more time for getting into position.
Position Your iPhone
After setting the photo timer on your iPhone, secure your device on a tripod or stable surface to prevent any movement or vibration during the shot. This will ensure that your photos are sharp and well-composed.
Frame Your Shot
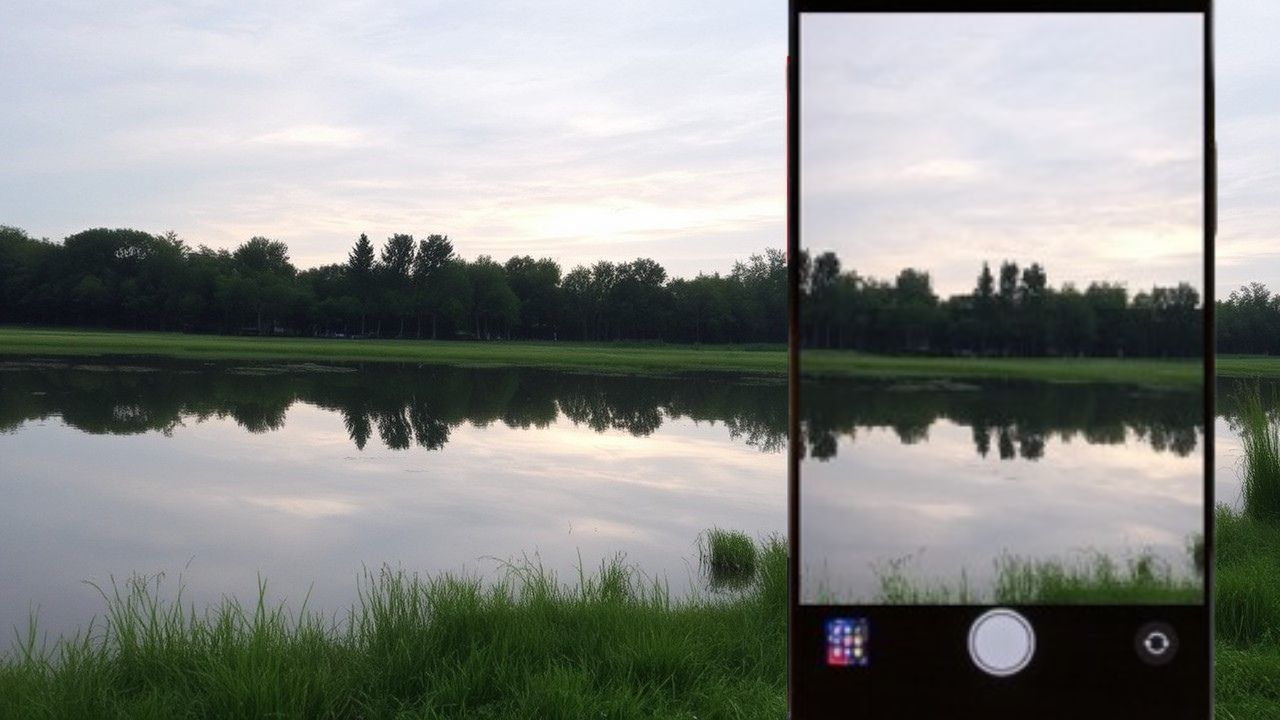
Make sure everyone and everything you want in the photo is properly framed. You might have to adjust the positioning slightly to achieve the best composition. Remember, with the timer iPhone camera feature, you have a few seconds to get into position before the shutter goes off.
Take the Photo
After everything is set, press the shutter button. The countdown will begin based on the time duration you selected. You may hear an audible countdown as the camera gets ready to take the picture, allowing you to prepare for the shot.
Review and Edit
Once the photo is taken, review it in the Photos app. Here, you can make basic edits, crop, or apply filters to enhance your image. The iPhone’s editing tools are robust enough for most editing needs.
Troubleshooting Common Issues
While activating the camera timer on iPhone is usually hassle-free, you might occasionally face some issues. Here’s how to resolve them:
Timer Icon Not Visible
If you cannot find the timer icon, ensure your camera app is updated. Sometimes, restarting the phone or closing and reopening the camera app can resolve this issue.
Photos Not Saving
Occasionally, photos might not save if your storage is full. Check your iPhone’s storage settings and free up space if needed.
Tips for Using the Timer on iPhone Camera Effectively
To optimize your use of the iPhone photo timer, consider these tips:
Use Burst Mode
When the timer is set, the camera typically captures a series of fast, consecutive shots in burst mode. This increases the chance of capturing a photo where everyone has their eyes open and is smiling.
Experiment with Angles
Set up your iPhone at different heights and angles to see which viewpoints work best for your subject. Using the timer allows you to step back and assess the scene more comprehensively.
Incorporate Dynamic Elements
A countdown gives you the opportunity to capture dynamic elements such as jumping or moving hands, adding energy to your photos.
Conclusion
Activating the timer on your iPhone camera can greatly enhance your photography experience. It offers more opportunities for creativity and flexibility, allowing you to be part of the photo without rushing. By following these simple steps, you can take advantage of this feature and elevate your photography skills. Whether you’re a casual shooter or an aspiring photographer, the camera timer on iPhone is an essential tool in your arsenal.
